Creating personal blog
Creating personal blog based on GitHub.

Objective
I decided to start document every step I made during my learning path.
The other reason was to make a CV (Curriculm vitae) for interview.
A friend of mine said to me that I have to include CV in .doc format in placement letter.
I was shocked that I had to write a document in Microsoft Word in the 21st century.
I did it when I was at school and university in late 1990’s.
Starting from Word 6.0 for Windows 3.1 and ending with Word 2000 for Windows 2000.
That’s enough for me!
So instead I used GitHub with its ability to make personal site like yourname.github.io.
This service is called GitHub Pages.
You have to make new repository named yourname.github.io.
In my case it is dmlaziuk.github.io.
In addition to supporting regular HTML content, GitHub Pages supports Jekyll server. It allows us to write pages using Markdown syntax, and use custom themes for styling.
In my blog I use Minimal Mistakes theme.
Installation
Jekyll is a Ruby gem. To install type:
$ gem install bundler
$ gem install jekyll
$ jekyll new dmlaziuk.github.io
$ cd dmlaziuk.github.io
$ git init
$ git remote add origin https://github.com/dmlaziuk/dmlaziuk.github.io.git
Directory structure
|-_data
| |-navigation.yml
| |-skills.yml
|
|-_includes
| |-archive-custom.html
|
|-_pages
| |-404.html
| |-about.md
| |-achievements.md
| |-courses.md
| |-projects.md
| |-skills.md
|
|-_includes
| |-svg_mime_type.rb
|
|-_posts
| |-2017-09-18-first-step.md
|
|-assets
| |-css
|   |-main.scss
|
|-images
| |-avatar.png
|
|-_config.yml
|-Gemfile
|-index.html
Config
# Gemfile
gem 'minimal-mistakes-jekyll'
group :jekyll_plugins do
  gem 'github-pages'
end
# _config.yml
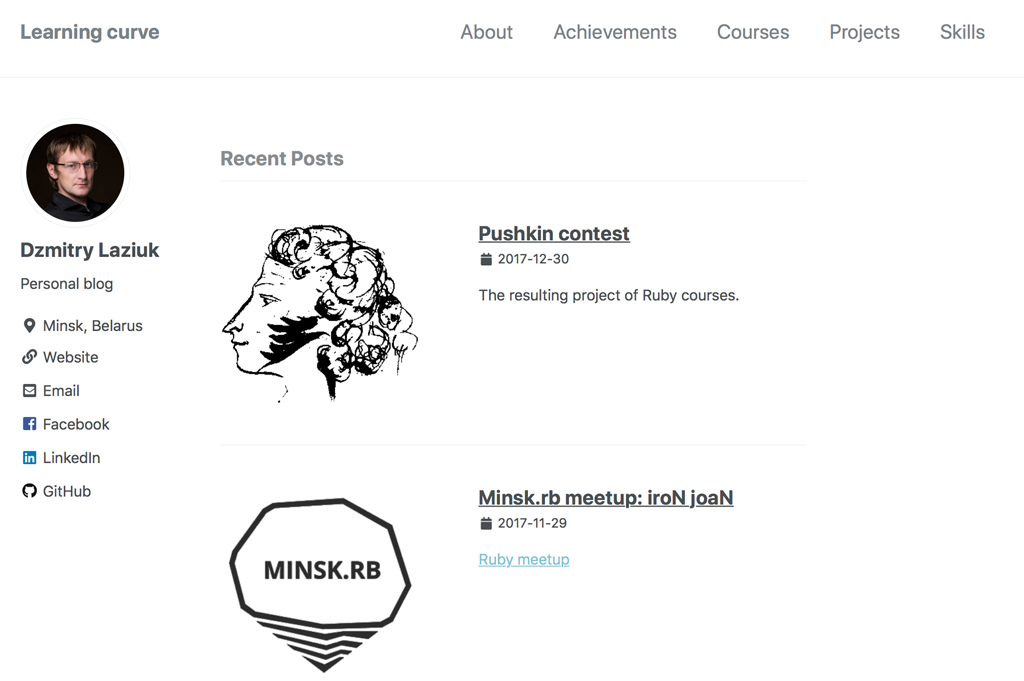
title: Learning curve
author: Dzmitry Laziuk
email: dm.laziuk@gmail.com
description: This blog is about learning curve of mature programmer. He who tries to compete with newbies in constantly changing environment.
baseurl: "/"
url: "https://dmlaziuk.github.io"
github_username: dmlaziuk
repository: "dmlaziuk/dmlaziuk.github.io"
remote_theme: "mmistakes/minimal-mistakes"
markdown: kramdown
words_per_minute: 100
paginate: 20
paginate_path: /page:num/
author:
name : "Dzmitry Laziuk"
avatar : "/images/avatar.png"
bio : "Personal blog"
email : "dm.laziuk@gmail.com"
uri : "https://github.com/dmlaziuk"
home : "/about/"
location : "Minsk, Belarus"
facebook : "dzmitry.laziuk"
linkedin : "dm-laziuk"
github : "dmlaziuk"
teaser: /images/avatar.png
include: ["_pages"]
defaults:
# _posts
- scope:
path: "_posts"
type: posts
values:
layout: single
author_profile: true
read_time: true
comments: false
share: false
related: false
# _pages
- scope:
path: "_pages"
type: pages
values:
layout: single
author_profile: true
<!-- index.html -->

---
layout: archive
author_profile: true
---

<h3 class="archive__subtitle">
  {{ site.data.ui-text[site.locale].recent_posts | default: "Recent Posts" }}
</h3>

{% for post in paginator.posts %}
    {% include archive-custom.html %}
{% endfor %}

{% include paginator.html %}
After installsation and configuration you can start Jekyll server locally:
$ jekyll serve
Then you can preview your site in browser at http://localhost:4000.
When everything looks great you just commit and push changes to GitHub:
$ git add .
$ git commit -m 'initial commit'
$ git push origin master
Links
Now your site is available at https://yourname.github.io.
How I’m Using Jekyll in 2016 (link).